Read First:
📌 Weekly Structure (applies every week)
This is the last week of class. Next week is final’s week
Content Release: Mondays @ 11 AM (Tues @ 11 AM if holiday week)
Deadlines: All assignments due Mon @ noon (or Tue when no Monday class)
ZOOM : Optional (recorded). Monday review + critique (recorded). If no Monday class → prerecorded review + Wed @ noon live session.
Critiques: Regular weeks: Mon @ noon → Wed @ noon
Use discussion board if not in ZOOM
Remote Office Hours: Wednesdays, 1–3 PM → Schedule Here
Week 15 Links & Notes
(specific to this week)
Live Sessions This Week:
👉 Join Live: Mon 12.1 @ noon – Weekly Review + Critique #1→ [Join Here]
👉 Join Live: Wed 12.3 @ 11AM – Extra Session for Critique #2 → [Join Here]
📺 Watch: Mon 12.1 Weekly Review Recording + Crit 1 → [Watch Here]
📺 Watch: Mon 12.3 Crit 2 → [Watch Here]
Looking Ahead (Week 16)
Next live (recorded) session: Mon Dec 8th @ noon (our last live session)
Our final deadlines
Monday, Dec. 1st @ noon
- 3. Submit P4 Work to P4_Mosters_F25 (2 Static Posters (either 2 DIFFERENT posters from 1 concept / or, 1 poster for 2 events), Storyboards, Motion Test.
- 5. Begin Critique #1 — In P4_Mosters_F25, Comment on 3 classmates, Note: most successful, least successful, suggestions for improvement, motion ideas.
Wednesday, Dec. 3rd @ noon
- 5. End Critique #1 — Complete all feedback in the PPT.
- 6. Begin Critique #2 — Post Motion Poster Work-In-Progress to D2L “P4: Motion poster” Discussion Board (Vimeo link or MP4 or GIF. Also add motion test to bottom of Medium ideation story.)
Monday, Dec. 8th @noon
- 7. End Critique #2 — Complete all feedback in D2L.
Wednesday, Dec. 10th @noon
- 8. Final P4 Submission to D2L (any late work must be submitted by Thursday, Dec. 11th @midnight).
Next week 16, is finals week and P4 is due on Wednesday @noon.
Weekly Content
Week 15 (though not required, it is recommended you move through in sequence. All items need to be complete by end of week):
- Attend or watch recording of Monday Zoom. We will review this week’s content.
SECTION II – P4 DEVELOPMENT - Continue Development of P4: Motion Poster
- Due Mon 12.1@noon: 2 Static Posters + storyboards + motion test (post to Medium and D2l Crit)
- P4 Static Poster Crit #1 –Post to Discussion Board on P4_Mosters_F25 by Monday 12.1 @noon.
- Due Wed 12.3: P4 Crit #1 feedback on 2 Static posters: P4_Mosters_F25. Comment on 3 others by Wednesday@noon.
- Due Wed 12.3: Begin P4 Motion Poster Critique #2 (final critique begin). Comment on 3 others by 12.8@noon.
- Due Mon. 12.8: P4 Crit #2–Participate in Wednesday @11AM Zoom Critique or Post/Comment to Discussion Board on D2L “P4: Motion Poster” by Wednesday @noon. Comment on 3 others by Monday@noon (if you do not attend Wednesday’s ZOOM). You only need to participate in one or the other.
- Review P4 Submission Guidelines before submitting (due 12.10@noon).
- .pdf – Final Presentation Rationale (post to Vimeo, or Medium)
- .pdf – Design Boards (file for download) turn in with P4 on D2L
- .mp4, .aep, .gif – Moster Poster files
SECTION III – AE
- Read through GIFs tips and How-To. Optional: Demo AE to GIF Video in Photoshop (we are using Adobe Media Encoder this year so this video is not required unless you’d like to learn how to also create a GIF in Photoshop).
- Review After Effects Resources
SECTION II – P4
2. Project 4: Motion Poster (5opts) –
due: Wednesday 12.10 @noon
Continue development of P4: Motion Poster. This week, we will critique our motion posters. Next week, I will hold an open studio / final critique on Monday @ noon. The following day project is due on Tuesday at midnight.
6. and 7. P4 Motion Poster Critique
Focus for Critique:

CONCEPT/MOOD: What is the overarching idea (thinking, logic, thread) for your design? How does the poster feel?

CONTENT/MESSAGE: Is the topic clear? Does the content hook us? Does the poster's content unfold in a purposeful way?

TIMING: Look at speed and feel for "sticky spots." Does everything flow? Do any areas feel too slow/fast?

TRANSITIONS: Does any content enter/exit at the wrong time? Are there any transitions that seem out of place or lacking? Looping considerations.

FORMAL CHOICES: Then…how are your design choices communicating the above? Type, color, imagery, etc. Is the event content read clearly, quickly, and easily? Is there unity throughout? Color coding? How did the designer use repetition with variation through the sequence?
8. P4 Final Submission Guidelines – For Review
- Project 4 Final: Final motion design uploaded to Vimeo. Upload your final files in a ZIPPED folder named “lastname_p4_MotionPoster” to the assignments folder on D2L “Project 4”.
- In zipped folder, FINAL .aep file
- In zipped folder, FINAL movie rendering @1080p or 720p (do not need process renderings)
- In zipped folder, FINAL .pdf of rationale
- .gif file (created in Photoshop – refer to last week’s demo)
- In zipped folder, Design Boards (P4 file for download) PDF please – only 4 frames (the zipped file is revised for the different format and duration)
Design Board Link: design_board_mosters.ai
- All process work (PDFs, JPEGs, PNGs) needs to be on Medium post (not in zipped folder)
- keyword/idea list/mood boards
- brainstorming/sketches
- 2 static posters
- storyboard (minimum of 3 frames)
- motion test
Project 4 Rubric
*Keep in mind that project 4 is now worth 50 points (weighted grade in D2L), although the rubric is still based on the value of 100. Keep in mind, that the points will cut in half for everything below. For example: The animated GIF will be worth 2.5pts, as opposed to 5pts.
Final Presentations (rationale): For our final project, you will be writing a rationale of your concept for your final work and uploaded a PDF of your rationale to your submission folder. Clearly articulate the narrative, mood, and contrast elements of your design. Explain how these elements interplay to create a cohesive concept. Discuss the formal aspects of your design. This includes color schemes, imagery/illustration style, and any other visual elements that are crucial to your design. Detail your choice of typefaces. It’s important not just to name the typefaces used but also to explain why they were chosen. How do they complement or enhance your concept? Ensure that all the elements mentioned above are cohesively integrated into your rationale. Your explanation should make clear how each choice contributes to the overall feel and effectiveness of your work.
Create Design Boards (P4 file for download)
9. AE Demos
In After Effects, this week we will learn about creating animated GIFs from your motion files. This is a required component of your Project 4 final submission and is 5% of your final grade. Be sure to watch the demo, practice the techniques, and review the tips and resources below.
How to Render your GIF
1. Go to Composition > Add to Adobe Media Encoder Queue.
2. In Media Encoder, set Format to Animated GIF.
3. Click the Output File name to choose where to save it (select your desktop).
4. Click the green play button to render.
5. Test your GIF—congrats, you’ve made your gif! (hit spacebar to play)
6. AME (Adobe Media Encoder) makes it easier than ever, but If you’d aslo like to know how to create a GIF in Photoshop, watch the video below.
GIF Tips
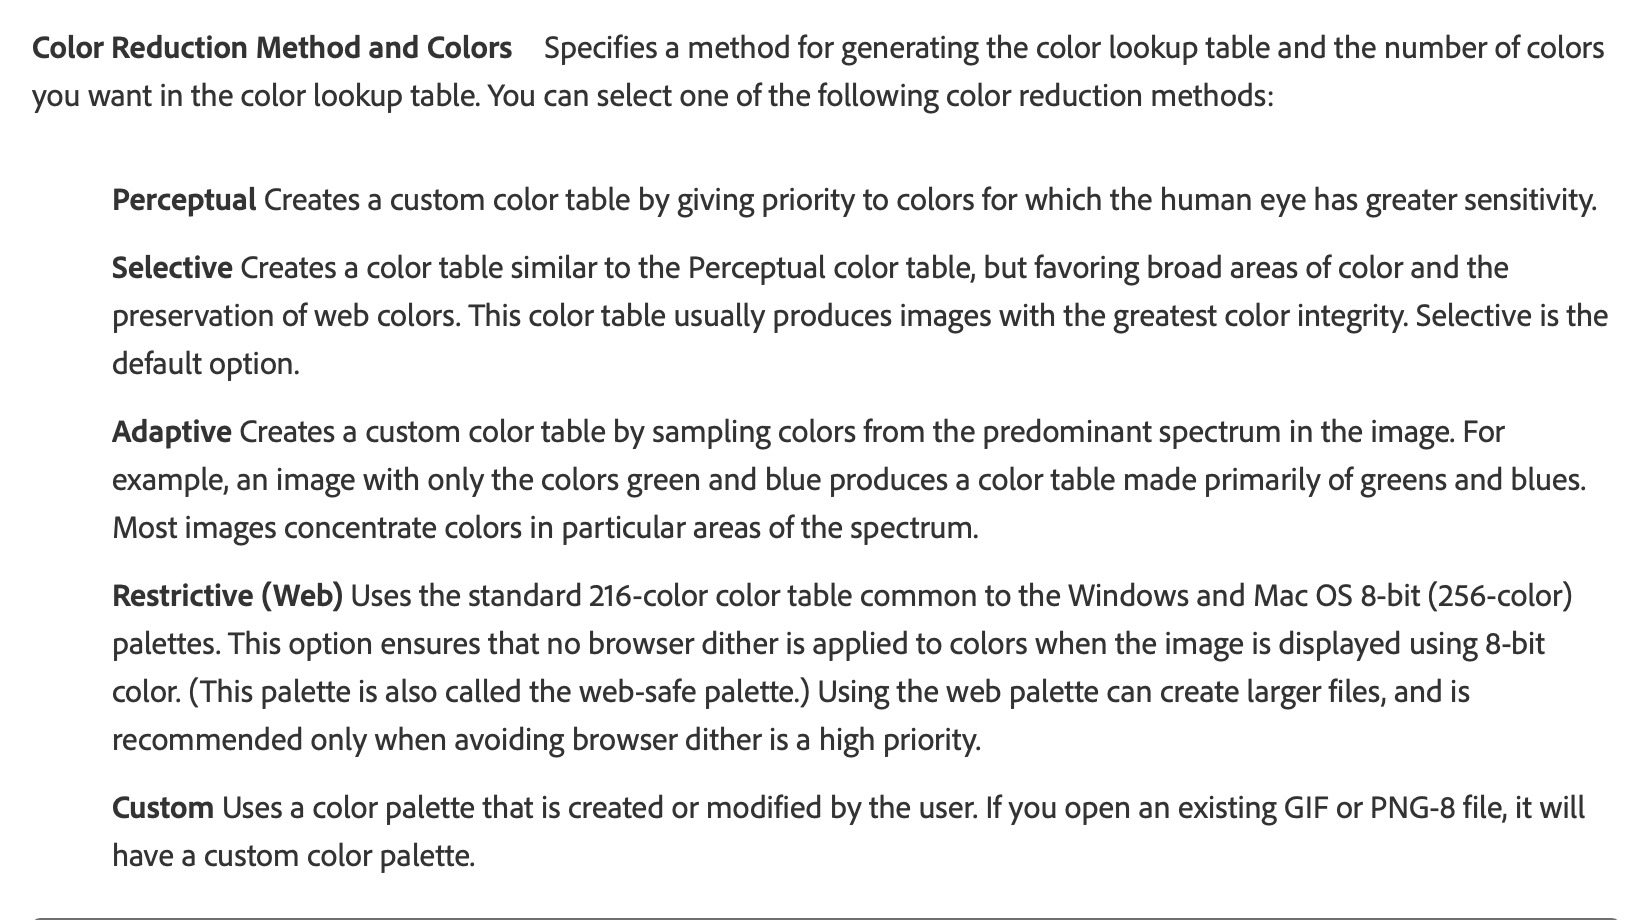
- Color Palette Limitation: GIFs support a maximum of 256 colors. Simplify your design to work well within this limitation, focusing on essential elements and avoiding unnecessary color complexity.
- Reduce Colors Strategically: Minimize the number of colors in your design to keep the file size smaller without sacrificing visual quality.
- Mimimize Gradients: Gradients can create banding issues in GIFs due to the limited color palette. Use solid colors or subtle gradients.
- Plan for the Seamless Loop: Ensure the last frame of your animation transitions naturally back to the first frame for a smooth, infinite loop. This often requires working backward from the end frame.
- Frame Rate Reduction: Lower the frame rate (e.g., 12-15 fps) to reduce file size. However, avoid going too low, as this may result in choppy animation.
- Timing and Flow: Adjust the timing of animations to ensure that looping does not appear abrupt. The transition should feel natural and continuous.
- Dithering Options: If your GIF suffers from noticeable banding, try enabling dithering when exporting. Dithering smooths color transitions but may slightly increase file size.
- Online Optimization Tools: Use online tools like Ezgif.com or TinyPNG for further optimization after exporting from After Effects.
- Use Adobe Media Encoder: After Effects also lets you export GIFs directly. Use Adobe Media Encoder for better control over output settings.
- Tap the spacebar: Preview your GIF to check the loop and ensure smooth playback. On Macs, tap the spacebar in Finder to quickly preview your GIF. On PCs, open in a web browser to preview.
- Creative inspiration: Browse websites like Dribbble or Behance for examples of effective looping GIFs to spark ideas.
Optional Video: AE to GIF in Photoshop Demo Video 18:34

10. AE Resources
- For Review:
- GIFs in AE | School of Motion
- After Effects GIFs from Animated Comps
- Dithering in GIFs
- Color Reduction Methods